|
Porcelain Tub Restoration The left rear corner of this tub was purposely left un-done to show that the finished tub is the same one we started with.
|
|
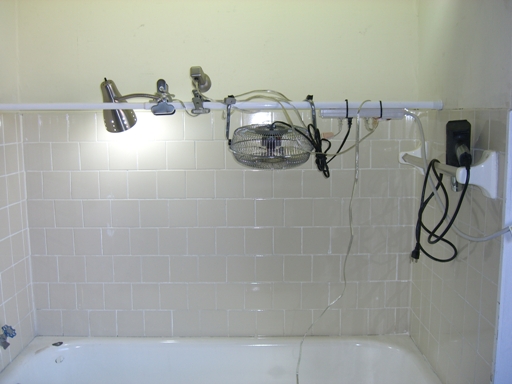
TO BEGIN SET UP TOOL BAR ABOVE TUB
Do not attempt to restore a tub without the tool bar and proper SPR tools! To do so is counter productive, less than satisfactory results will follow!
1 STEP-1A
BEFORE STARTING THE NO SPRAY PROCESS Tub Before Restoration 2 Wash out obvious dirt and trash before starting treatment Wash away obvious dirt and trash before starting tub treatment 3 SURFACE PREPARATION
7. See # 7 on instruction sheet.
STEP 1 Cleaning the surface. (Purging the surface of all impurities)
CLOSE DRAIN OUTLET TO PREVENT LOSS OF CLEANING COMPOUNDS CLOSE DRAIN OUTLET TO PREVENT LOSS OF CLEANING COMPOUNDS
4
APPLY STEP-1 CLEANING PRODUCTS
Ad 4 oz diluted Step-1 to bottom of tub. Sprinkle on 1/2 oz Step-1 Booster and 1/2 oz Super-Scower. Scrubbing tub with Black or Brown scrub pad held with EZ Grip handle. Start at bottom of tub and work up back wall, ends and top of tub. Clean inside front and apron of tub last to prevent getting product on your arms.
Apply Products to Tub Bottom Step-1 Booster, Super-Scower and Diluted Step-1 (3 to 1) CLEAN TUB WITH EZ HANDLE, BLACK or BROWN PAD
5 "OPTIONAL" CLEAN TUB "BOTTOM" "STAIN-BLASTER™" & BLACK or BROWN PAD
6 "STAIN-BLASTER™" Multi Tool Can be use for Sanding, Scrubbing, Stain Removal and Polishing
7 CLEAN TUB SIDE WALLS, TOP AND FRONT WITH APPROPRIATE SCRUB PAD AND EZ GRIP HANDLE
8 RINSE TUB RINSE TUB THOROUGHLY
© SPR Product Sales 2012 |