|
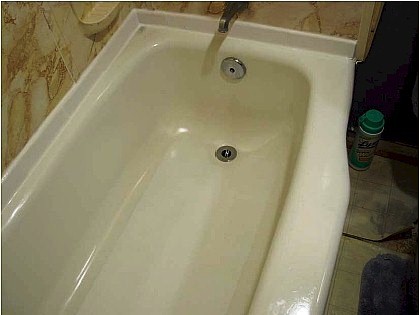
Fiberglass Tub Bottom Rebuilding
|
|
1 STEP-4
SLIP-GRIP Bottom Coating
Tub bottom restore must be hard and smooth before applying Slip-Grip
KF-43 Bottom Restorer Filler Repair any rough places on bottom restore with KH-43 filler Mixing KF-43 and Hardener
2 APPLYING KF-43 OVER ROUGH SURFACES The smoother the application of KF-43 the less sanding required after it hardens KF-43 turns a light green when activated and turns white when hardened. Apply KF-43 With Even Thin Coats 3 CHIP FILLERS REQUIRE HEATING WITH HEAT GUN WARMING AREA BEFORE AND AFTER APPLYING FILLER HELPS ACTIVATE IT FOR QUICK HARDENING KF-43 FILLER BECOMES WHITE WHEN HARD.
4 SANDING CHIP FILLER TO CONTOUR "HAND SANDING" KF-43 MUST BE HARD BEFORE SANDING
5A "OPTIONAL" SANDING CHIP FILLER TO CONTOUR "POWER SANDING"
5B "STAIN-BLASTER™" Multi Tool Can be use for Sanding, Scrubbing, Stain Removal and Polishing
6 TACK CLOTH DUST REMOVAL Dust Removal is Essential
7 OPTIONAL PROTECTION
Small specks (splatters) from roller appear on side walls if ROLLER is moved to fast or rolled from front to back wall of tub while spreading the material evenly. Moving roller slowly from end to end of tub will prevent or minimize minute splatters on side walls and not require paper.
8
TACK CLOTH
9 SLIP-GRIP
1 0
APPLICATION IMPORTANT: SLIP GRIP MUST BE MIXED WHEN YOU START THE TUB PREPARATION TO INSURE IT IS MIXED AND SETS (SWEATS IN) A MINIMUM OF 30 MINUTES BEFORE APPLICATION
11 ALLOW TO DRY WITH FAN BLOWING UNTIL DRY TO TOUCH
12 WHEN DRY TO TOUCH REMOVE TAPE AND PAPER
13 CAREFULLY REMOVE PAPER AND TAPE
Tub Can be Used The Same Day
© SPR Product Sales 2012 |